
Pool Covers
Step-by-Step Guide to Installing Your Own Pool Cover
Transform your backyard with our comprehensive step-by-step guide to installing your own pool cover. Learn essential tips, tools, and maintenance strategies to ensure safety and style for your pool area.
Aug 18, 2025
5 min read

Step-by-Step Guide to Installing Your Own Pool Cover
TL;DR
Grab your goggles and let’s dive into the world of pool covers. Start by understanding what type of cover suits your pool’s needs (safety or seasonal?), ensuring accurate measurements to avoid saggy disasters. Assemble your toolkit with anchors, drills, and a hefty dose of patience. Prepare your pool area like a pro, clearing debris and strategizing around potential obstacles. Follow the installation guide, tighten it securely, and learn the art of maintenance to keep it pristine. Ponder the aesthetics and explore innovations that turn this necessity into a backyard delight.
1. Dive Into the Deep End: Understanding Pool Cover Essentials
Before you cannonball into the installation process, let's chat about why a pool cover is more than just a massive tarp pretending to be helpful. Think of it as the superhero of your backyard: it shields your pool from debris, acts as a safety net for wandering kids and pets, and, hey, it even keeps the temperature in check. Imagine waking up on a crisp autumn morning (pumpkin spice in hand) to a pristine pool instead of a swampy leaf trap. That's the magic of a cover.
But wait, there’s more! Picking the Right Cover is paramount. Got an in-ground pool? A safety cover that can support weight might be your new best friend. Above-ground pool owners might fancy a winter cover for the chilly months. And remember, a snug fit is critical, no one likes a saggy superhero.
2. Measuring for Success: The Art of Accurate Pool Dimensions
When it comes to pool cover installation, size matters. Accurate measurements are your golden ticket to a snug fit. Whether your pool is a simple rectangle, a graceful oval, or a funky freeform, each has its quirks. Grab a trusty tape measure and channel your inner geometry nerd. Measure multiple points, account for depth, and double-check everything twice (at least). A slight miscalculation could mean going back to square one. Oh, and enlisting a helper or a laser measure? Smart moves.
3. Gather Your Arsenal
Now, let's assemble your toolkit. Imagine you're assembling your very own Avengers team, but with more drills and less spandex. A reliable drill, tape measure, and level are your starting lineup. Don't forget protective gloves; those sharp edges can wound your DIY pride. And remember, the Right Cover is crucial: mesh for drainage or a solid cover for durability. Your choice reflects your climate and pool use, so choose wisely, grasshopper.
4. The Installation Kickoff: Preparing the Pool Area
Here’s where you roll up your sleeves and prep the pool area. Clear the perimeter of any furniture or toys doing their best obstacle course impression. A clutter-free space is not only easier to work in but also safer. Check the pool surface for anything that could snag the cover, and address those pesky irregularities beforehand. Your pool area should feel as organized as a zen garden , minus the raking.
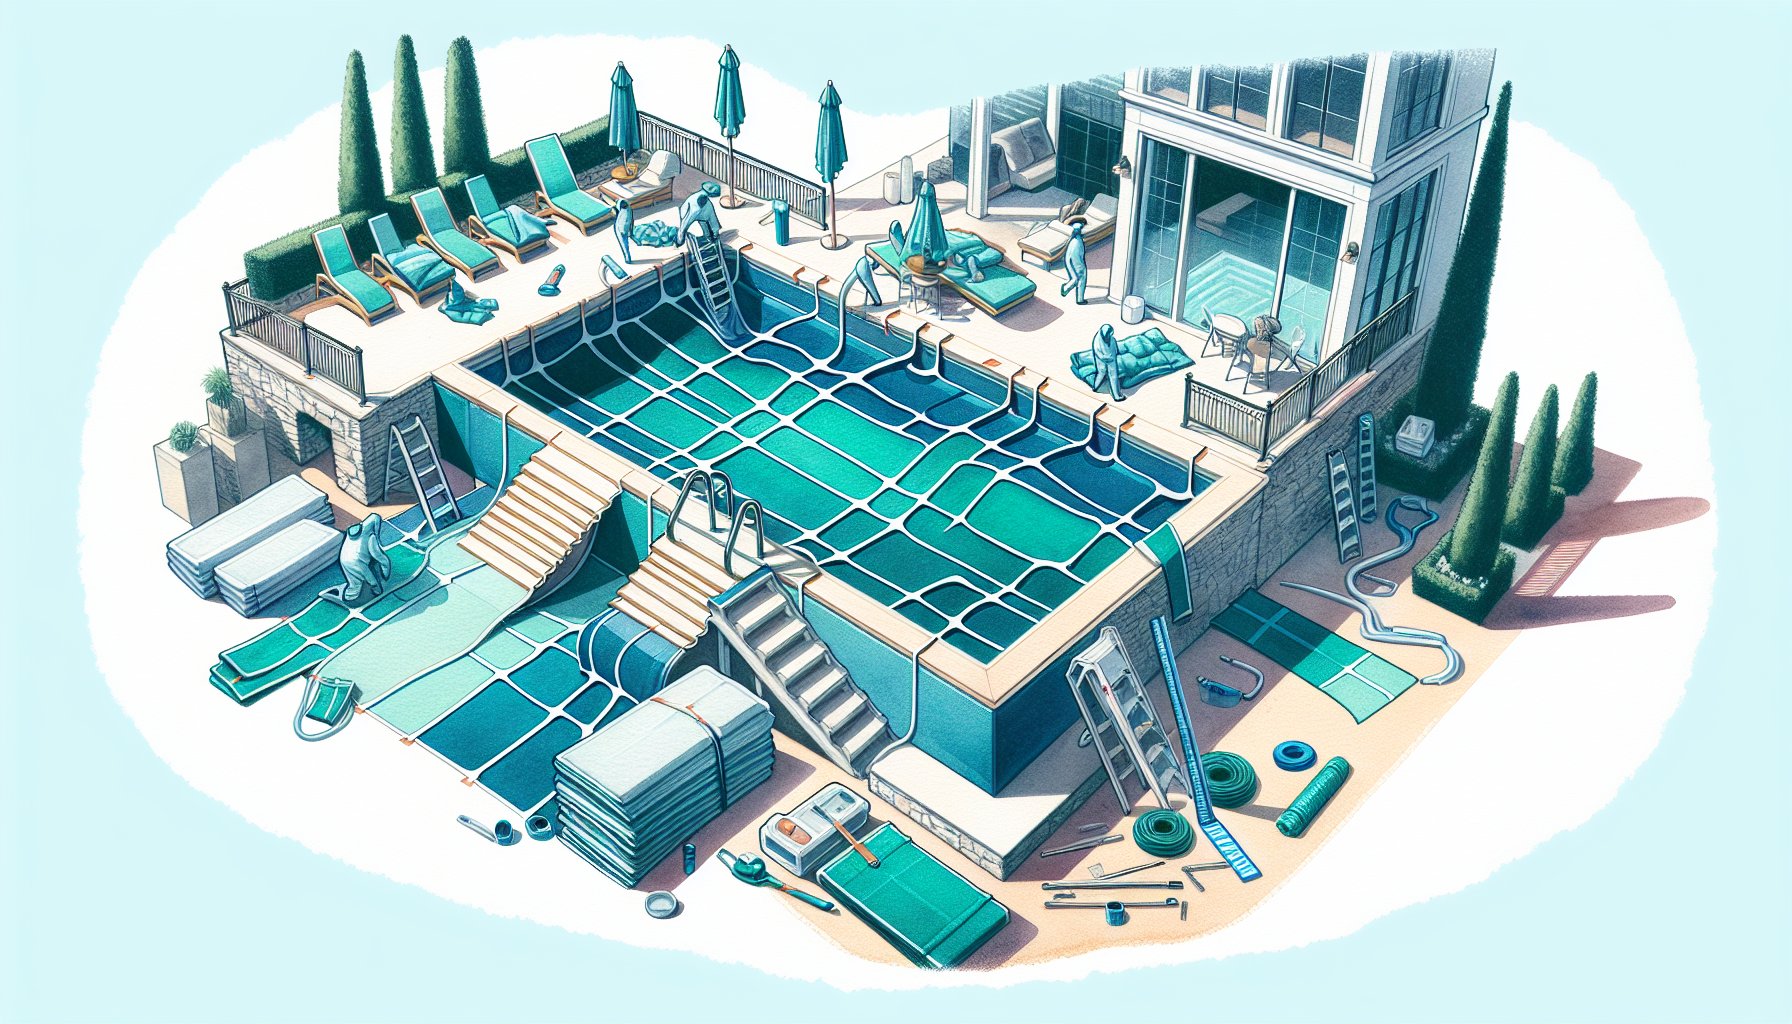
5. Step-by-Step Blueprint: The Installation Process Unfolds
Installation time! Grab your gear, start with the cover, and make sure it fits like Cinderella's slipper. Lay it over the pool, adjust where needed, and anchor it securely. Taut is the name of the game here, avoiding any sags or safety hurdles. Periodically step back, survey your handiwork, and tighten it until it sings a note of triumph. Test it gently, and make sure it's up for the challenge of Mother Nature’s whims.
6. Tightening It Up: Securing your pool cover with Confidence
Straps secured? Anchors tight? Excellent. You’ve moved from installation to fortification. Regularly check the tension and adjust as needed. A loose cover is an opportunity for debris, and mischief-making pets, to sneak in. So, channel your inner Boy Scout: be prepared, be vigilant.
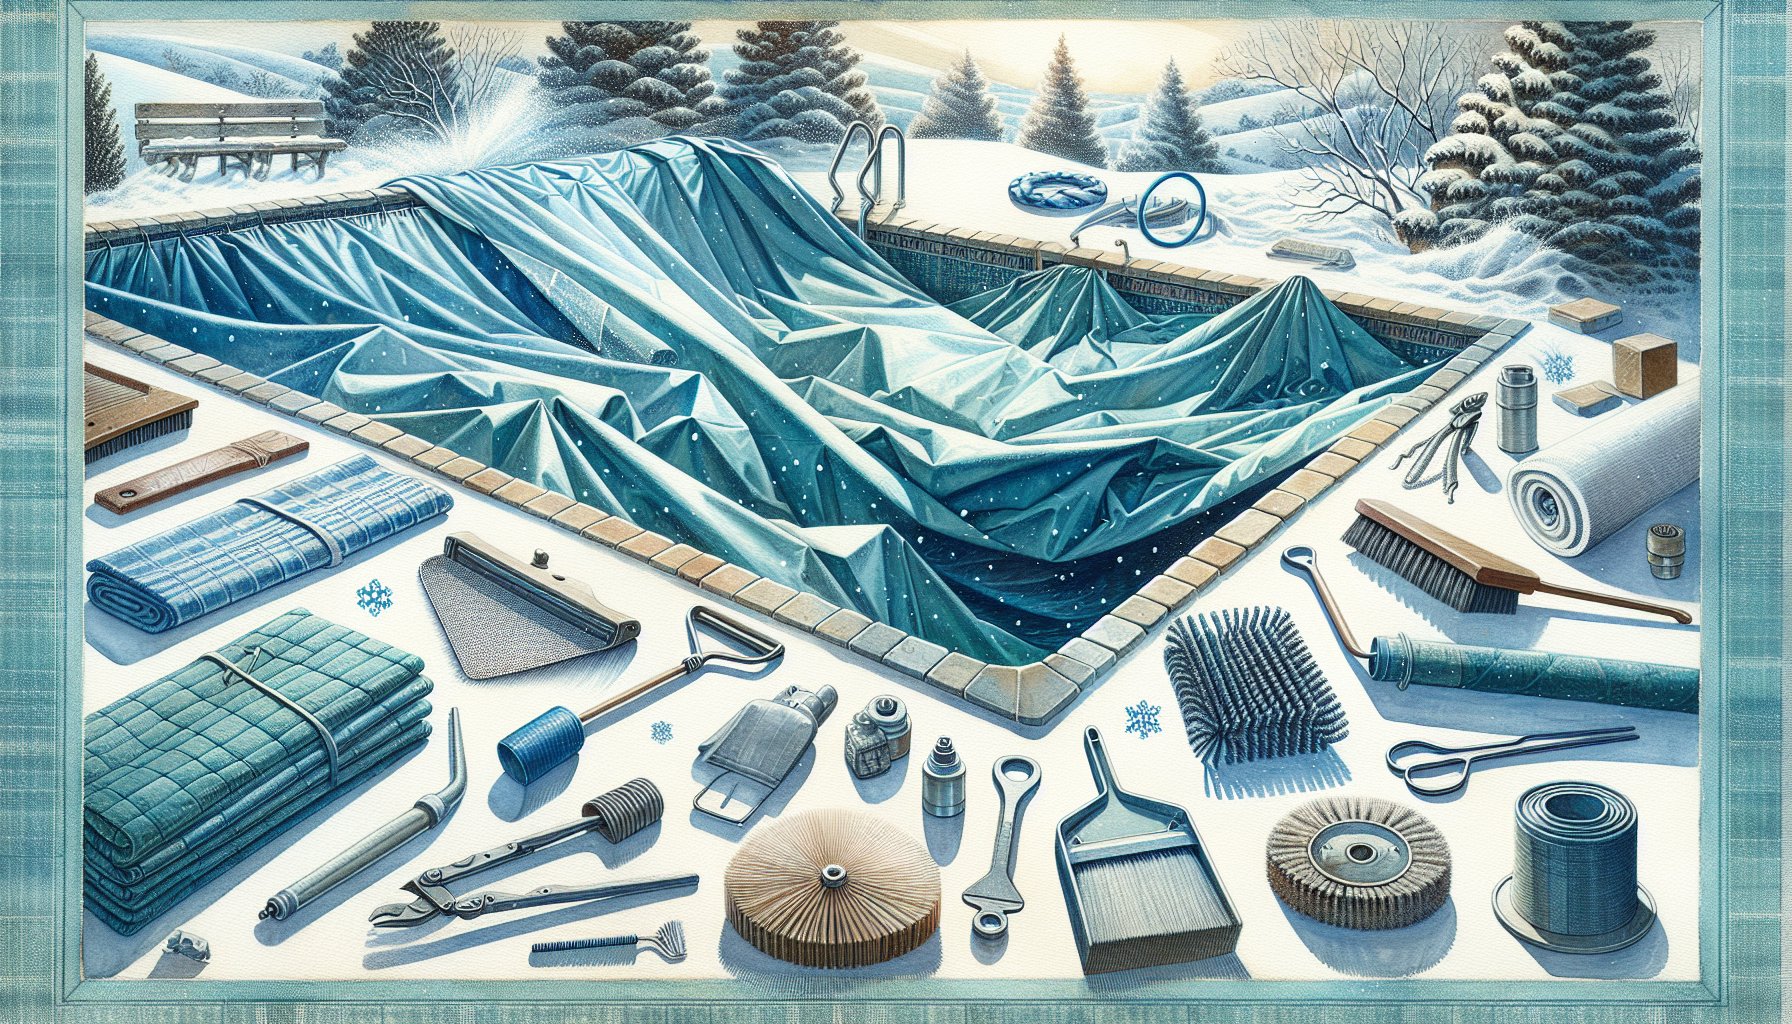
7. The Care and Maintenance Playbook
Think of this as pool cover TLC. Regular check-ups ensure longevity; clean your cover with a soft brush or blower, and watch for wear and tear. Seasonal storage demands thorough cleaning and a cool, dry sanctuary. Mold’s party is not invited. Stay proactive, and your cover will be a faithful guardian for years.
8. The Green Thumb Factor: Integrating Pool Covers into Your Outdoor Space
Who said practicality has to compromise style? Let your cover blend in by choosing colors and materials that complement your landscape. Consider UV protection and thermal features for extra brownie points in efficiency. Surround Your Pool with low-maintenance plants to enhance both looks and functionality. Your cover is a vital player, not just a benchwarmer.
9. Pool Cover Innovations: What’s Next in the World of Pool Safety?
The future is now, folks. From smart covers linked to your smartphone to eco-friendly materials, innovation is transforming pool safety. Consider these advancements as a harmonious blend of tech and aesthetics, making your pool not just safe but smart and stylish.
10. Real Stories, Real Solutions
Embarking on this DIY adventure? You’re not alone. Hear from fellow pool owners like Jane and Mark, or Lisa, whose triumphs and hiccups pave a roadmap for your path. Learn from their experiences, laugh at their missteps, and realize your own installation is not just about the cover but the journey. Be inspired, and remember: every professional started as an amateur. Your pool area awaits its transformation into a centerpiece of safety and style.
Need Help?
Check out these related products that can help:
Other Articles You Will Like

Pool Covers
Pool Safety: Why Every Local Family Needs a Pool Cover
Discover the critical role of pool covers in ensuring safety for families. Learn how they prevent accidents, reduce maintenance, and enhance peace of mind. Invest in your family's safety with Carson Outdoor Living's expert solutions.
Apr 23, 2026
Read More

Pool Covers
How to Install a Pool Cover: Step-by-Step FAQs
Discover how to install a pool cover with our comprehensive step-by-step guide. Learn about types, tools, and tips to ensure safety and efficiency. Dive into FAQs and make your pool a secure retreat with Carson Outdoor Living!
Apr 17, 2026
Read More

Pool Covers
Fact vs. Fiction: The Biggest Myths About Pool Covers Explained
Discover the truth behind common misconceptions about pool covers in 'Fact vs. Fiction: The Biggest Myths About Pool Covers Explained.' Learn how they conserve energy, enhance safety, and keep your pool clean year-round. Click to uncover the real benefits!
Apr 16, 2026
Read More
Pool Covers
Busting Myths: The Truth About Pool Covers and Energy Savings
Discover the truth about pool covers and energy savings. Learn how modern covers can reduce costs, enhance efficiency, and extend your swim season. Dive into our guide for tips on maximizing your pool's potential with Carson Outdoor Living!
Apr 15, 2026
Read More

Pool Covers
Are Pool Covers Worth the Investment? Key FAQs Discussed
Discover the true value of pool covers in our comprehensive guide. From safety and aesthetics to cost savings and environmental benefits, learn why investing in a pool cover is essential for every pool owner. Explore key FAQs and make an informed decision today!
Apr 14, 2026
Read More

Pool Covers
Debunking Pool Cover Myths: What You Really Need to Know
Dive into the truth about pool covers with our guide on debunking myths. Learn how proper maintenance, climate considerations, and innovative options can enhance your pool experience and keep it safe and stylish.
Apr 13, 2026
Read More
Pool Covers
How Long Do Pool Covers Last? Answers to Your FAQs
Curious about pool cover longevity? Discover how long pool covers last, factors affecting their lifespan, and expert tips to maximize durability. Read our guide on 'How Long Do Pool Covers Last? Answers to Your FAQs' for informed decisions and smarter investments.
Apr 13, 2026
Read More