
Natural Stone
DIY Guide: Installing Natural Stone Tiles Like a Pro
Transform your space with our DIY Guide: Installing Natural Stone Tiles Like a Pro. Discover expert tips on selecting, preparing, and laying tiles for a stunning finish. Embrace your inner artisan and create a beautiful, lasting floor that tells a story.
Dec 12, 2025
4 min read
Mastering the Art of Stone: Your Ultimate DIY Guide to Installing Natural Stone Tiles
TL;DR: Installing natural stone tiles is more than just a flooring task, it's an aesthetic journey feasting on elegance and durability. This guide leads you through each meticulous step, from choosing your stone to celebrating your triumph, ensuring you can transform your space like a seasoned pro. Get ready to embrace your inner artisan.
The Beauty of Nature: Understanding Natural Stone Tiles
Choosing natural stone tiles isn’t just about flooring, it's about capturing the soul of the earth in your home. Picture yourself feeling the history beneath your feet with every step on a cool, polished marble floor. Unlike synthetic options, each stone tile is a unique story from nature, bringing warmth and authenticity to your space. But here's the kicker: natural beauty demands preparation. It’s not as forgiving as laminate, so expect to plan meticulously and respect its quirks, from varying thicknesses to delicate textures.
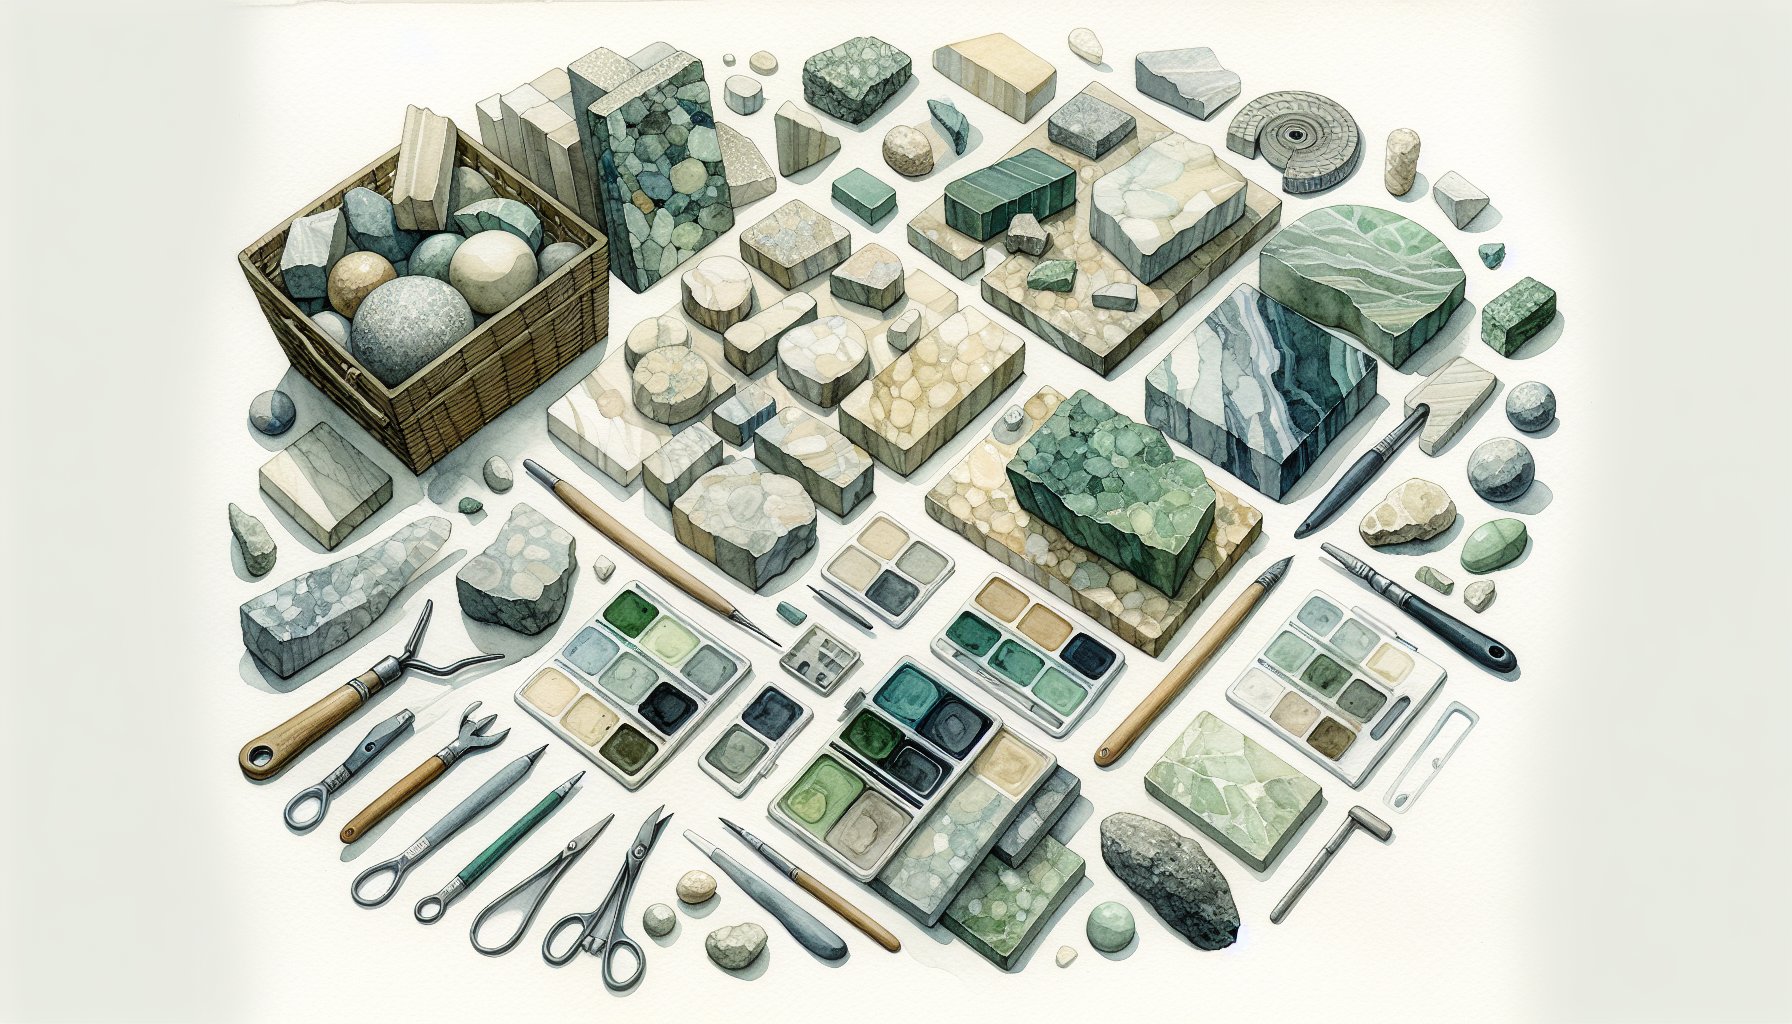
Choosing Your Stone: A Journey Through Selection
Entering the realm of stone selection is akin to an artist choosing a canvas, each stone type is a narrative waiting to unfold. Whether you're swayed by marble's opulent veining or slate's earthy tones, your choice will determine your home's vibe. Visit local showrooms, touch the stones, and visualize them in your space. Remember, choosing your stone isn't just the start of a relationship, it's setting the stage for a lifelong interaction with your living space's heart and soul.
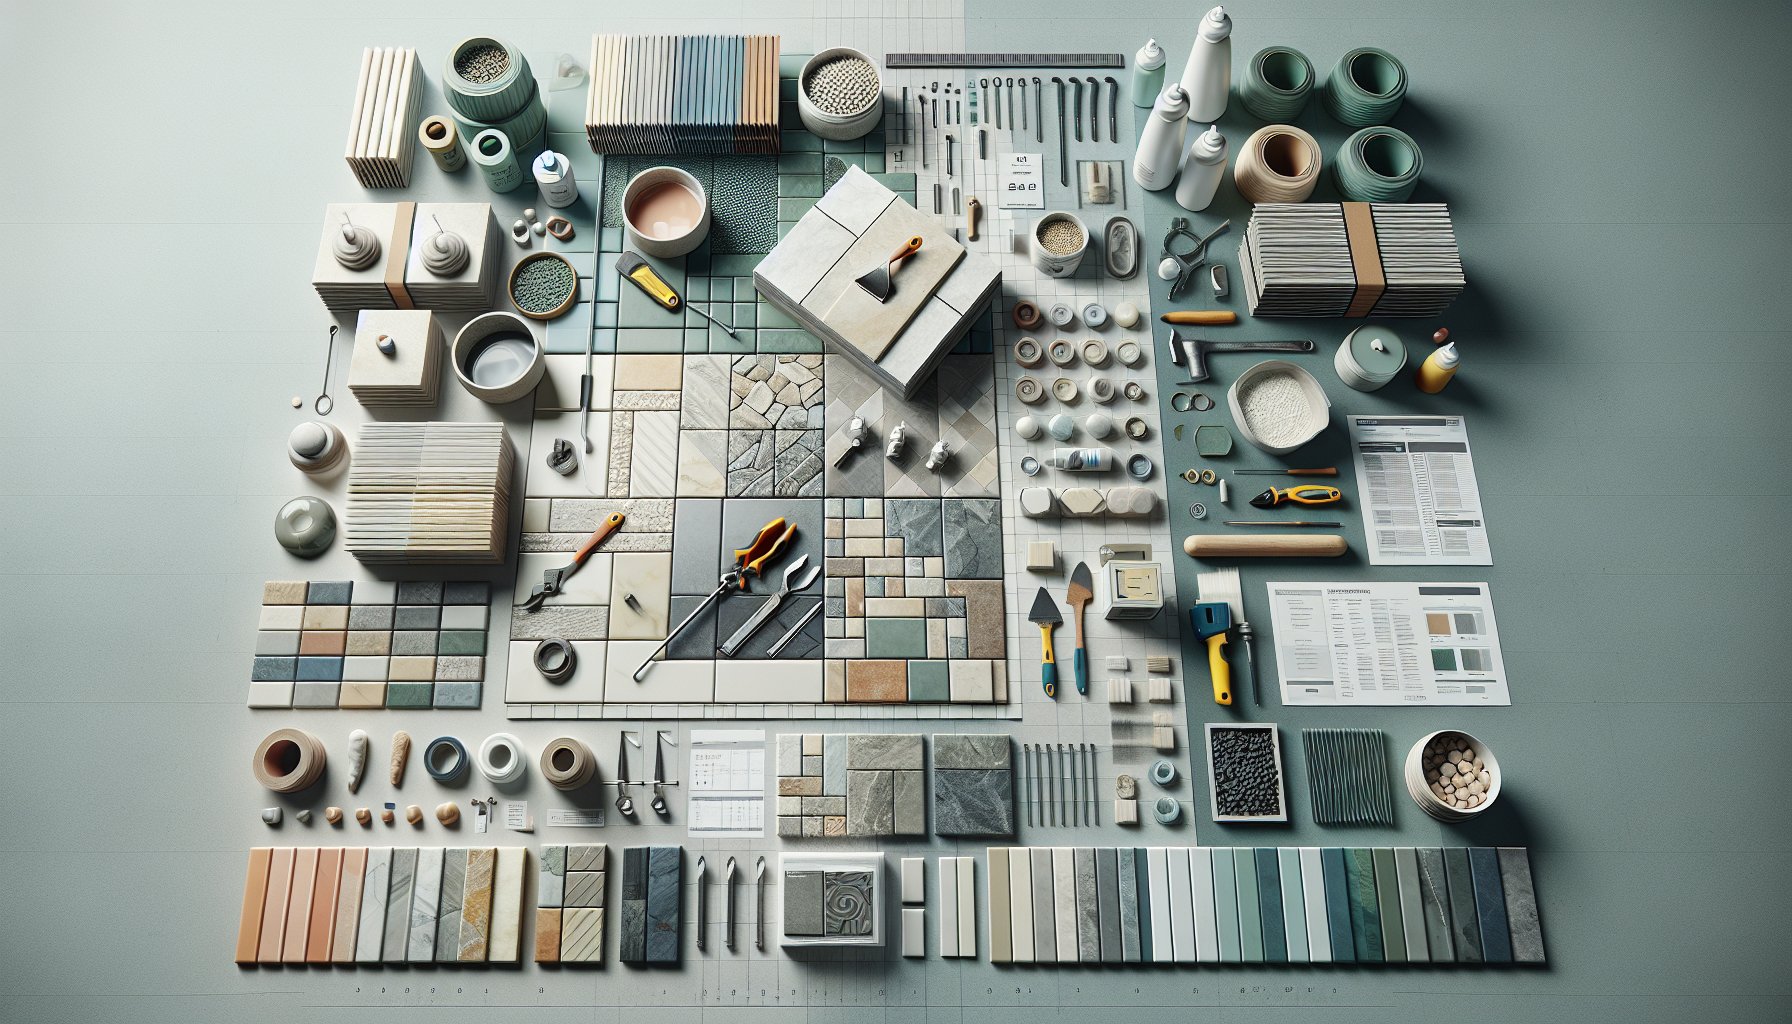
Tools of the Trade: Equipping Your DIY Arsenal
Transform your DIY adventure into a symphony of success with the right tools. Picture a trusty utility knife, trowel, and rubber mallet forming your toolkit's backbone. For cutting tiles, a wet saw is your best friend, precision’s secret weapon. Assemble these tools like an artist selecting brushes. They’re not just for one project but an investment in all your home improvement escapades.
Preparing the Foundation
Think of preparing your subfloor as a sculptor smoothing the base for their masterpiece. Everything hinges on a clean, dry, and level surface. Remove old flooring with the gusto of an archeologist unearthing treasures, and meticulously inspect your subfloor for imperfections. This prep work is your insurance policy against future tile woes, setting the stage for flawless placement.
The Art of Layout: Planning Your Design
Your layout is your blueprint, your vision board. Grab the proverbial chalk line and design your masterpiece. Starting from the room's center often yields the most aesthetically pleasing results. Go through a dry run, lay out tiles without adhesive to ensure your vision translates into reality. Remember, the layout is your canvas; plan it well, and your tiles will become the visual poetry of your home.
Mixing It Up: Adhesives and Grouts Explored
Mastering adhesives and grouts is like brewing a perfect cup of coffee, a blend of precision and love. Thin-set mortar, your adhesive of choice, binds your tiles with enduring strength. Grout, the finishing touch, doesn’t just hold tiles together; it enhances their beauty. Choose wisely, mix carefully, and your tiles will thank you with longevity and luster.
The Moment of Truth
Now comes the crescendo, laying the tiles. Each placement is a stroke of genius in your artistic endeavor. Embrace the process, take your time, and relish the transformation from ordinary floor to extraordinary canvas. This is where everything comes together, where all your preparation takes shape.
Grout Like a Pro: Finishing Touches that Shine
Grouting is the final polish on your masterpiece. It's not just about filling gaps but elevating the entire space. Apply it with precision, wipe away excess carefully, and let your tiles gleam with perfection. Grouting might be the last step, but it’s also the one that binds the entire experience together.
Troubleshooting Trials
Expect a few hiccups, every great tale has them. Whether it’s uneven tiles or drying delays, being adaptable is your superpower. Armed with troubleshooting insights, you can navigate these challenges with finesse. Remember, every challenge is a stepping stone to mastery.
Celebrating Your Triumph
Your installation journey culminates in triumph, a legacy of beauty and personal touch. But it doesn't end there; it begins a chapter of maintenance. Embrace a regimen that preserves your stone tiles' charm, cleaning, sealing, and reveling in their timeless elegance. Each mark tells a story; let your home become a collector of memories.
With this guide, you're not just installing tiles; you're crafting a narrative, a testament to your creativity and perseverance. So, step back, admire your artistry, and welcome a space that is uniquely yours, dancing in harmony with the earth beneath.

Need Help?
Check out these related products that can help:
Other Articles You Will Like
Natural Stone
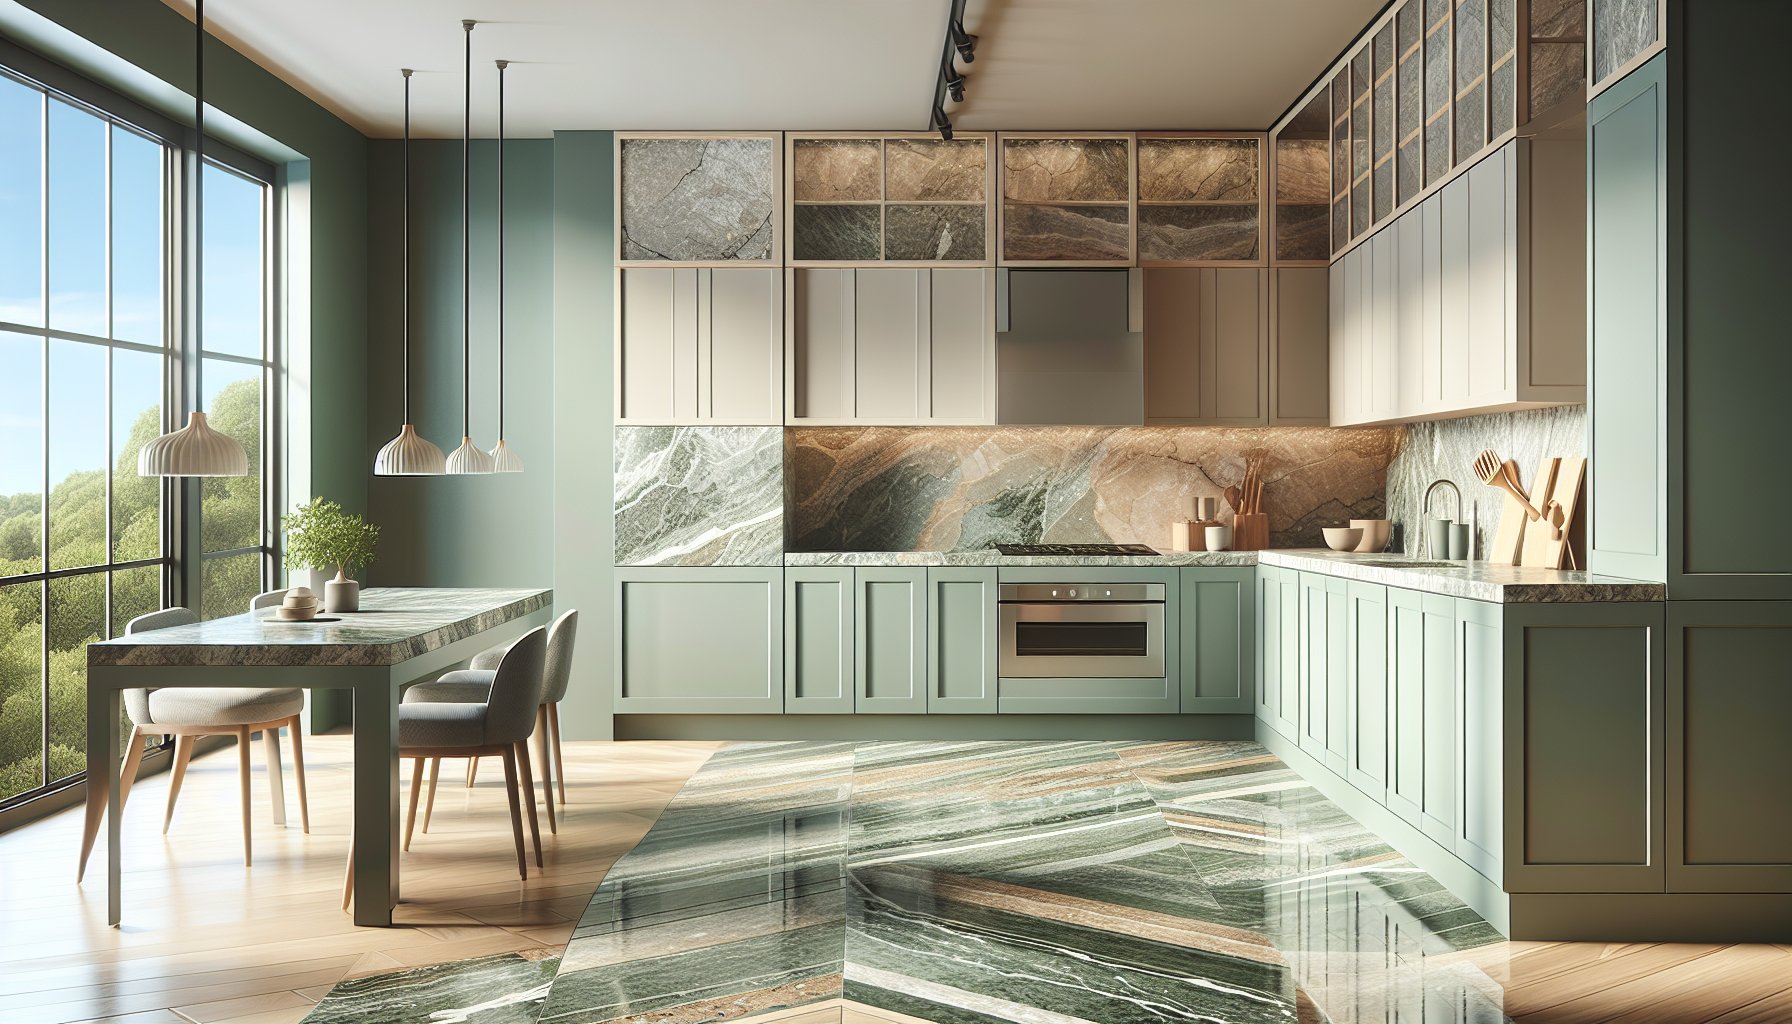
4 Key Benefits of Choosing Natural Stone for Kitchen Countertops
Upgrade your kitchen with natural stone countertops! Explore the 4 key benefits, including unmatched durability, aesthetic elegance, stain resistance, and increased home value. Transform your culinary space into a stunning masterpiece today!
Mar 15, 2026
Read More
Natural Stone
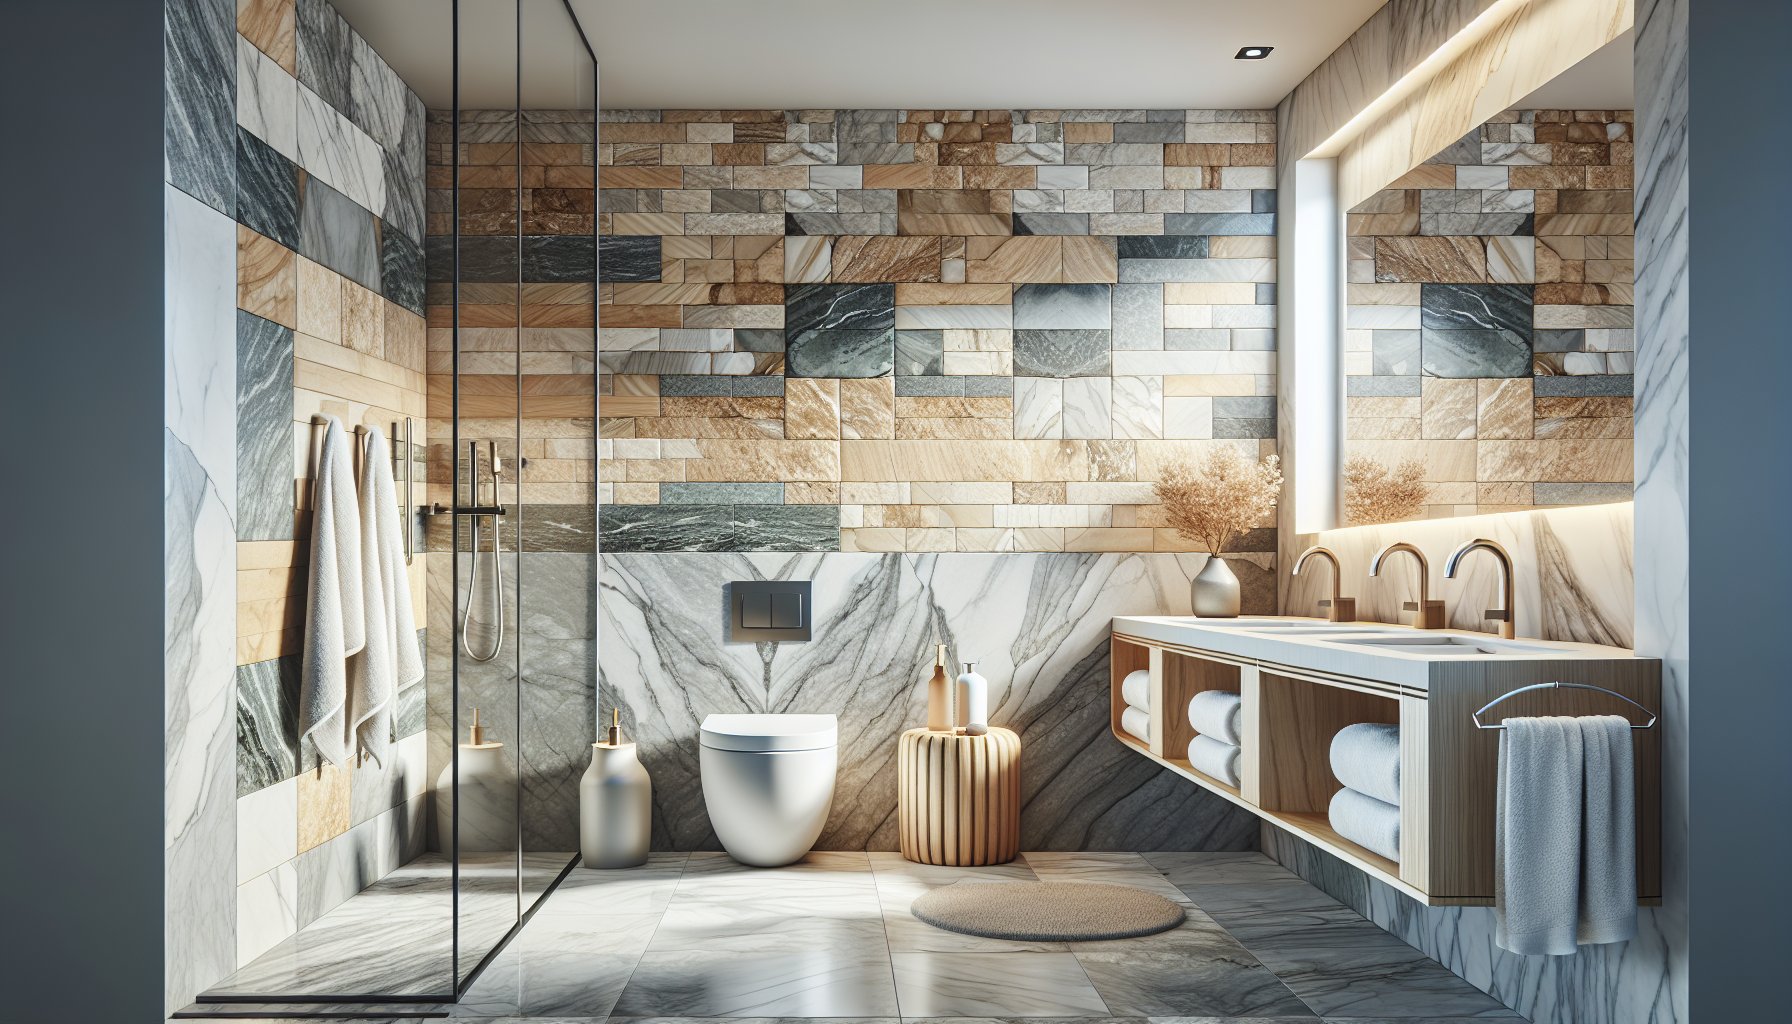
How to Use Natural Stone in Your Bathroom Remodel: A Complete Guide
Discover how to use natural stone in your bathroom remodel with our complete guide. Explore types, maintenance tips, and design ideas to create a stunning, eco-friendly sanctuary that reflects your style and enhances your home.
Feb 26, 2026
Read More

Natural Stone
The Ultimate Guide to Repairing Chips and Cracks in Natural Stone
Discover expert tips and techniques in The Ultimate Guide to Repairing Chips and Cracks in Natural Stone. Learn how to identify damage, choose the right tools, and decide between DIY or professional help to restore your stone's beauty.
Feb 18, 2026
Read More

Natural Stone
11 Natural Stone Trends to Watch in Home Design
Discover the latest in natural stone trends for home design. From bold statements to eco-friendly choices, learn how to elevate your spaces with 11 Natural Stone Trends to Watch in Home Design. Transform your home with style and sustainability!
Feb 15, 2026
Read More
Natural Stone
Discover the Best Natural Stone for Local Weather Conditions
Discover the Best Natural Stone for Local Weather Conditions with our expert guide. Learn how to select stones that balance beauty and durability, ensuring your outdoor space thrives in any climate. Transform your backyard into a stunning sanctuary today!
Feb 14, 2026
Read More

Natural Stone
Choosing the Right Natural Stone for Your Bathroom Remodel
Transform your bathroom into a luxurious retreat with natural stone. Explore the benefits of marble, granite, and quartzite, and learn how to choose the right stone for your remodel with Carson Outdoor Living.
Feb 13, 2026
Read More
Natural Stone
The Cost of Natural Stone: What You Need to Know Before You Buy
Explore the true costs of natural stone, from extraction to installation. Uncover hidden expenses, ethical sourcing, and maintenance tips to make an informed investment. Discover how to align your budget with your aesthetic vision in 'The Cost of Natural Stone: What You Need to Know Before You Buy.'
Feb 13, 2026
Read More

Natural Stone
Natural Stone Maintenance: Essential Tips for Homeowners
Discover essential tips for maintaining natural stone surfaces in your home. Learn how to protect, clean, and care for marble, granite, and travertine to preserve their beauty and longevity. Elevate your home's elegance with our expert advice!
Feb 12, 2026
Read More