
LED Pool Lighting
Step-by-Step Guide to Installing LED Pool Lights: A DIY Tutorial
Illuminate your backyard oasis with our comprehensive step-by-step guide to installing LED pool lights. Discover essential tools, safety tips, and creative design ideas to enhance your nighttime swimming experience. Dive in and create your perfect glow!
Aug 05, 2025
5 min read
Step-by-Step Guide to Installing LED Pool Lights: A DIY Tutorial
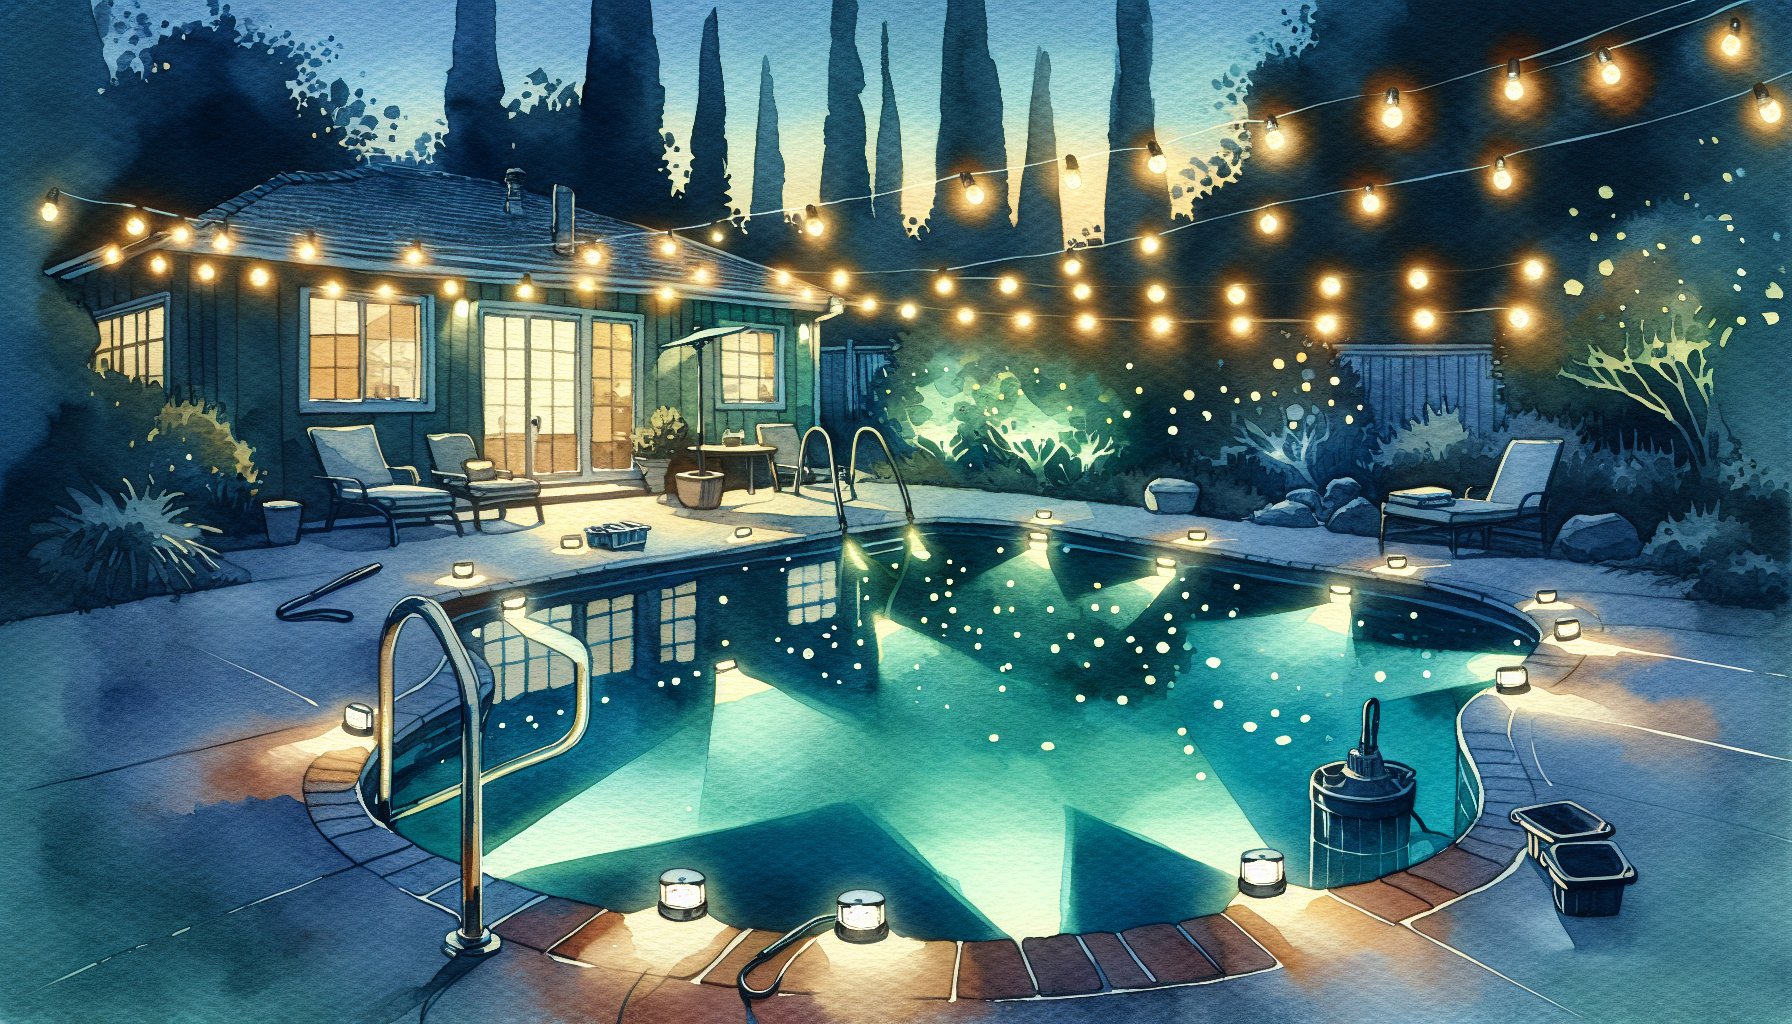
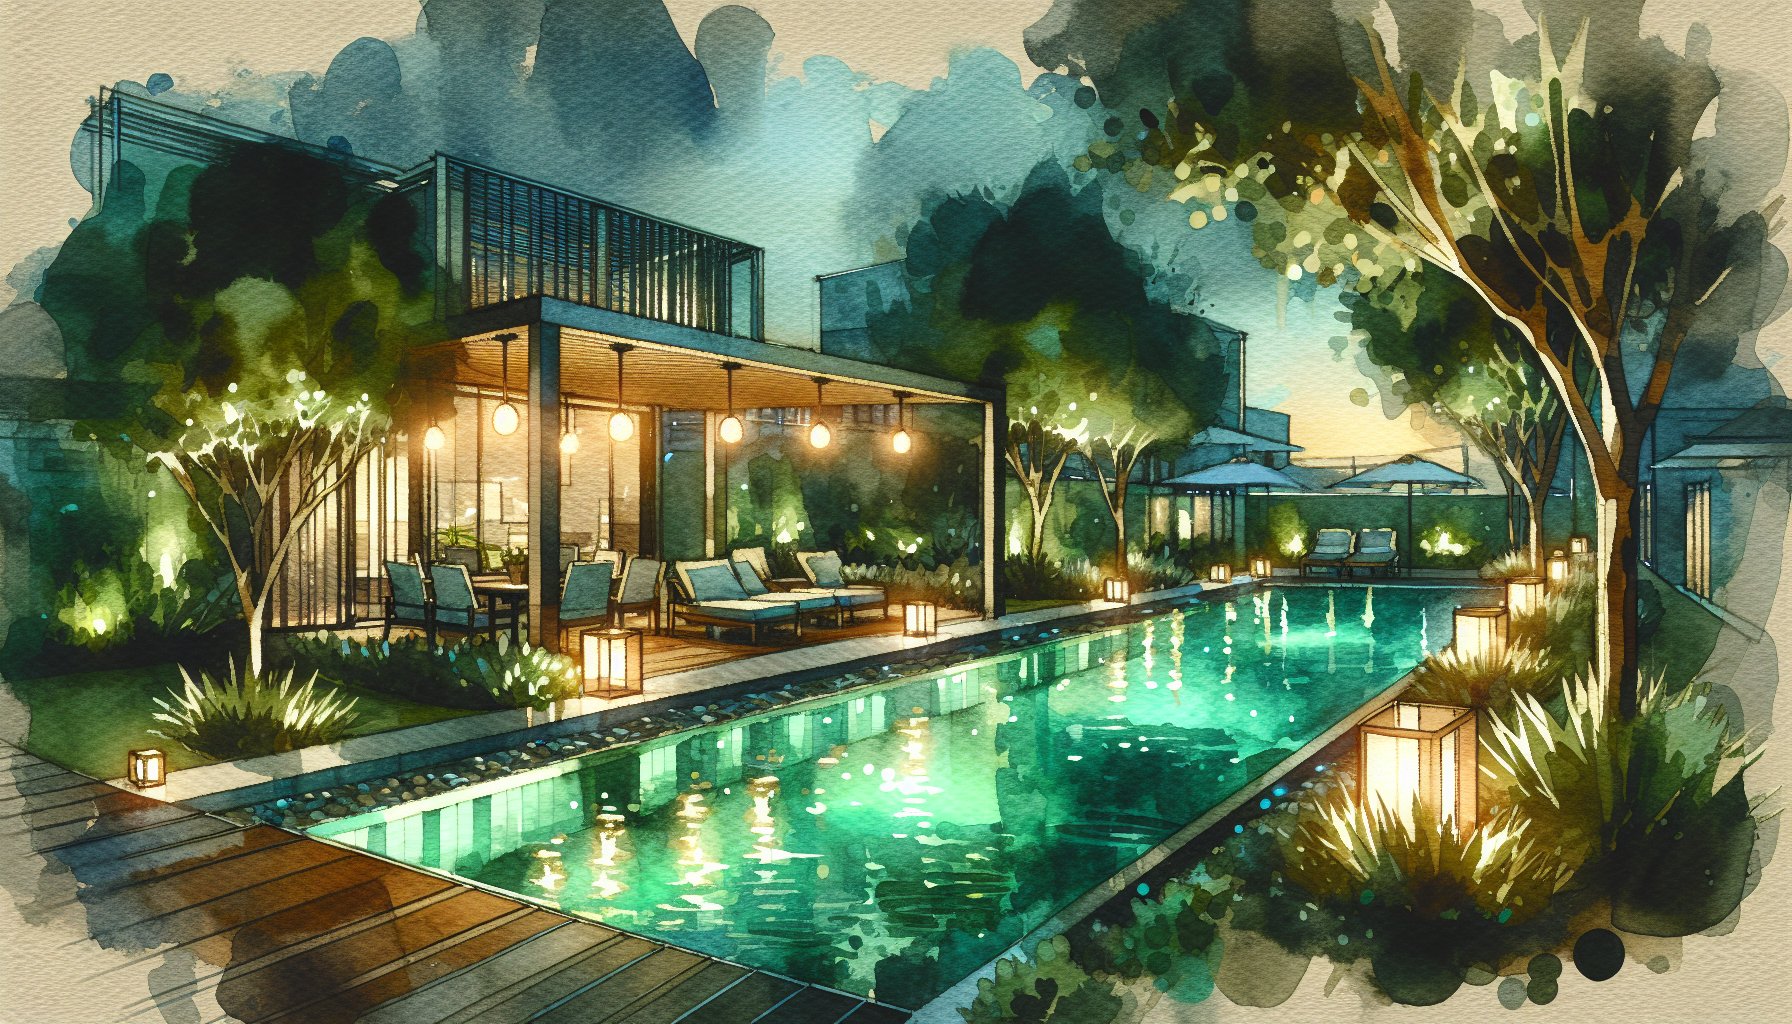
Dive into the Glow: Why LED Pool Lights?
Imagine this: the sun has set, you're lounging by the pool, and the water is lit up with a kaleidoscope of colors. It's like having a vacation in Your Backyard. Welcome to the world of LED pool lights. With a few tools and a splash of creativity, you’re not just installing lights; you’re crafting an enchanting oasis.
Why Go LED?
If you're looking to transform your backyard into a personal paradise, LED pool lights are your best ally. They’re the superheroes of lighting, eco-friendly, long-lasting, and undeniably stylish. Unlike those energy-guzzling incandescent bulbs, LEDs consume a fraction of the power, translating to savings that your wallet will definitely appreciate. Plus, their incredible lifespan means less time on the ladder swapping out burnt-out bulbs and more time enjoying your nightly swim.
Getting Your Gear: The Essentials
Okay, before we dive in (pun absolutely intended), let’s talk tools. Think of this as assembling your toolkit for this DIY adventure. Start with a trusty power drill for securing those fixtures, because who has the patience for hand tools? Wire cutters, an adjustable wrench, and a set of sockets should round out your essentials. And don't skimp on safety gear: gloves and goggles are your new best friends.
For the materials, high-quality, waterproof LED lights designed for pool use are a must. And remember to gather enough electrical wire, connectors, and a transformer. Trust me, you don’t want to be mid-project and realize you're short on supplies.
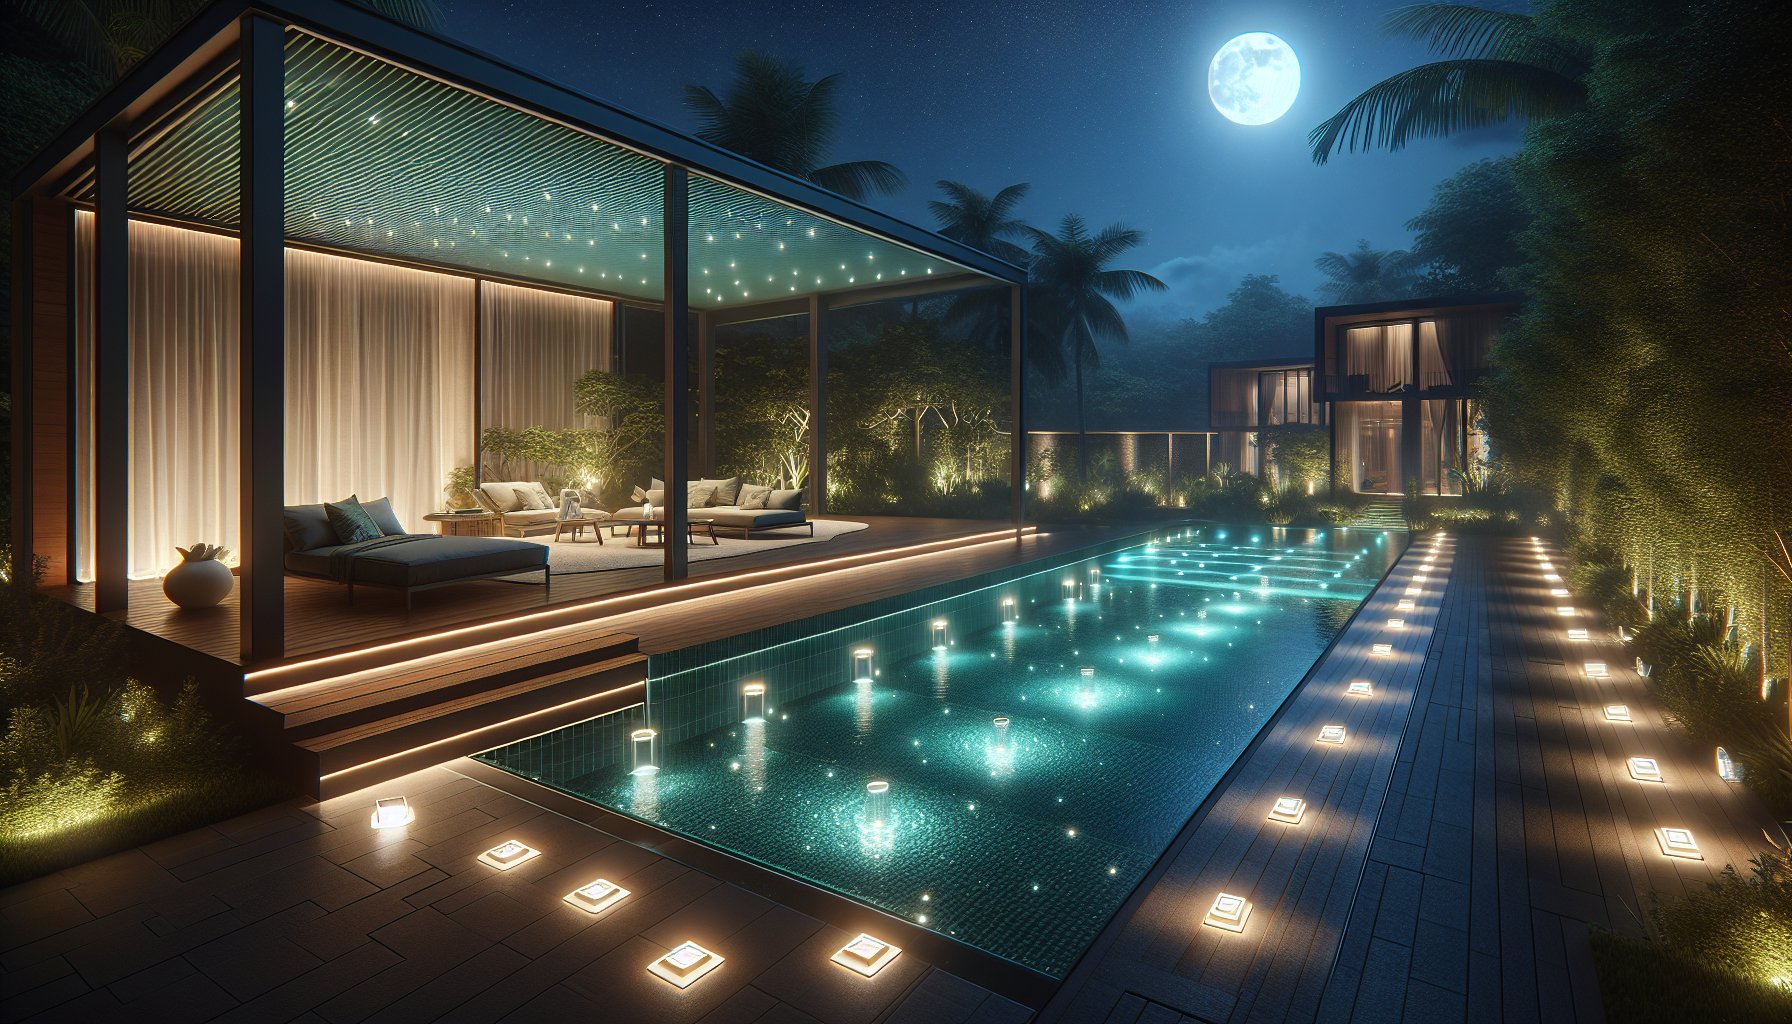
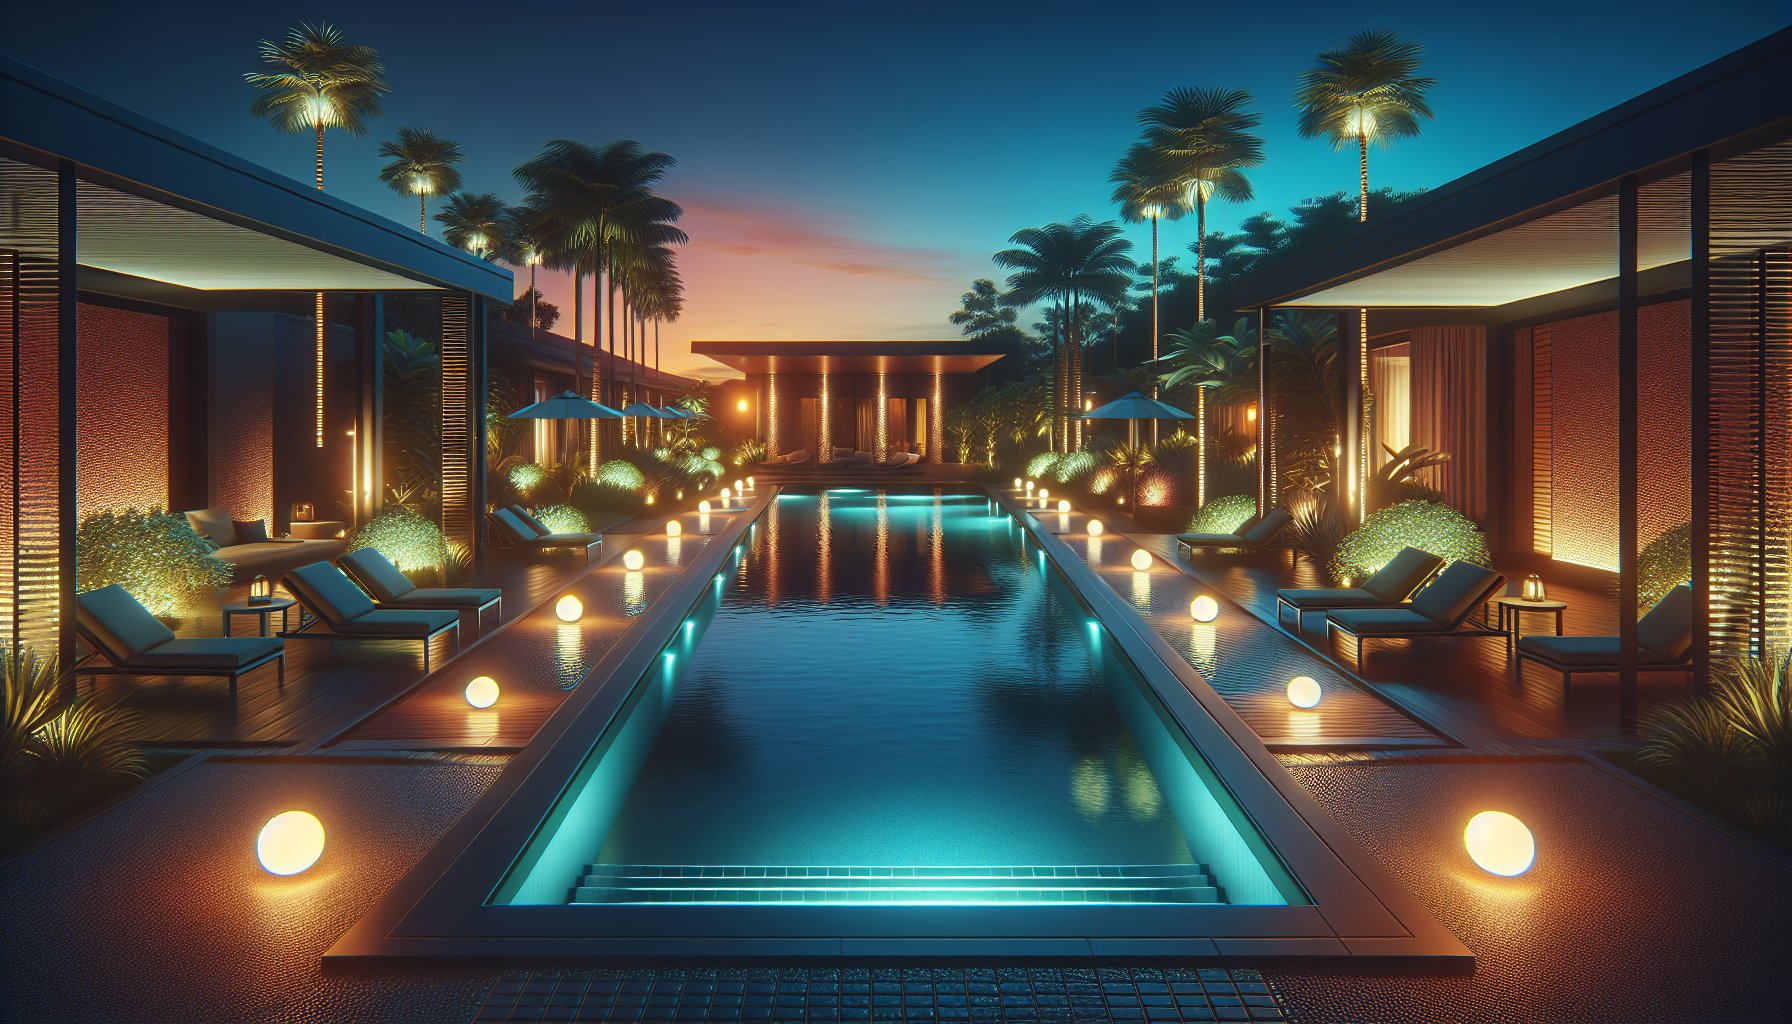
Crafting the Canvas: Designing Your Lighting Layout
This is where you become the artist. Your pool is your canvas, and the lights are your colors. Are you going for a serene escape with soft blues and greens, or a vibrant party spot with shifting, dazzling hues? Sketch it out first, whether on napkin or app, and consider the practical and pretty: where do you need light for safety and where do you want it for show?
Think about placing lights around the pool's perimeter or even underwater to highlight unique features like waterfalls. The goal is to create a harmonious space that's both inviting and functional. And remember, less can be more; the goal is to Enhance, not overpower.
Safety First: Keep It Cool
DIY can be thrilling, but when it involves electricity, it demands respect. Before you even think about picking up that drill, make sure the power’s off at the circuit breaker. Seriously, this step isn’t just a suggestion; it’s a survival guide. Gear up with insulated gloves and goggles, you’re not just playing electrician; you're keeping things safe and shock-free.
And, don’t just wing it with the wiring. Get familiar with your local electrical codes and play by the rules. This isn’t just about avoiding fines; it’s about keeping your poolside haven safe for everyone.
Bringing the Vision to Life: Installation Time
Alright, it’s showtime. With your gear in place and safety checks complete, you’re ready to start transforming your pool. Begin with the installation of the transformer. Find a dry, accessible spot for it, then channel your inner archaeologist and dig trenches for your wiring, about 6 inches deep should do it.
Install the lights. Follow the instructions like they’re treasure maps, because precision is everything here. With everything connected and secure, it’s time for the big reveal: turn on the power and let there be light!
Trial by Light: Testing Your Setup
This is your moment. Picture the scene: you flip the switch, and the pool springs to life in a brilliant glow. But if nothing happens, don’t panic. Troubleshoot calmly: check connections, make sure the circuit breaker hasn’t tripped, and ensure the transformer is properly wired.
Once everything is aglow, take a stroll around your pool. Adjust the angles if needed, and admire the interplay of light, shadow, and water. This is more than installation; it’s your masterpiece.
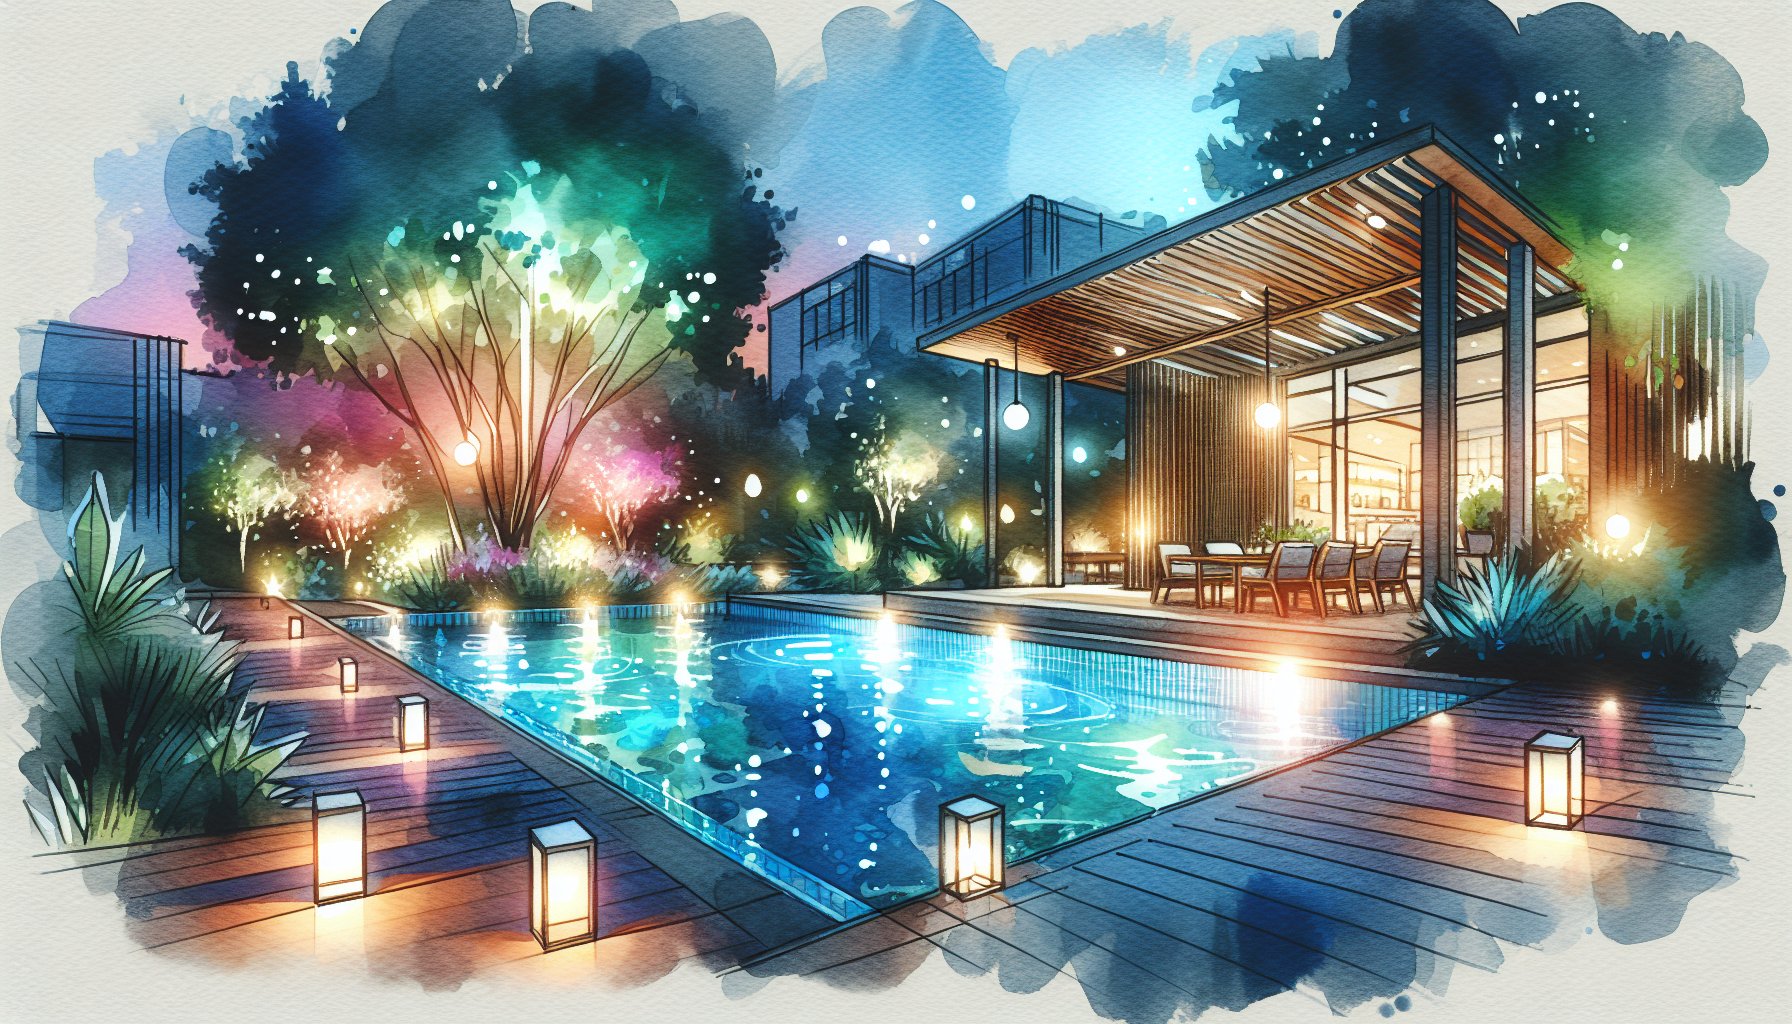
Finishing Touches: Beyond Illumination
Now that the hard part’s done, it’s time to add those little extras that make Your Pool Area truly yours. Think potted plants that catch the light, inviting furniture with plush outdoor cushions, or even floating lanterns for a touch of magic. Music is another game-changer, waterproof speakers can provide the perfect soundtrack for your illuminated oasis.
Maintenance Matters: Keep the Glow Alive
You’ve done the tough part, now don’t let negligence dim your hard work. Regularly check your pool chemical levels, as this can impact your lights' lifespan. A quick wipe-down every couple of weeks keeps your fixtures pristine, and a seasonal check ensures everything’s in tip-top shape.
When to Call in the Pros
Sometimes, despite our best DIY efforts, it’s okay to admit defeat. If the project starts veering into murky waters, literally, calling a professional might be your best bet. They bring expertise, a fresh perspective, and maybe even a solution you hadn’t considered.
Beyond the Waters: Crafting Memories
Your pool isn’t just a swimming spot anymore; it’s a story waiting to be written. With your LED lights shimmering night after night, your backyard becomes a haven for evenings filled with laughter, reflections, and the soothing glow of a job well done. Welcome to your illuminated oasis, courtesy of your own two hands and a little guidance from Carson Outdoor Living.
TL;DR: Turn your pool into a nighttime paradise with DIY LED lights. They save energy, last forever, and look amazing. Gather your tools, follow safety rules, and bring your vision to life! Add some personal flair and maintain your setup like a pro. If all else fails, a professional can help bring your dream to life. Enjoy the magic and memories created in your glowing oasis!
Need Help?
Check out these related products that can help:
Other Articles You Will Like

LED Pool Lighting
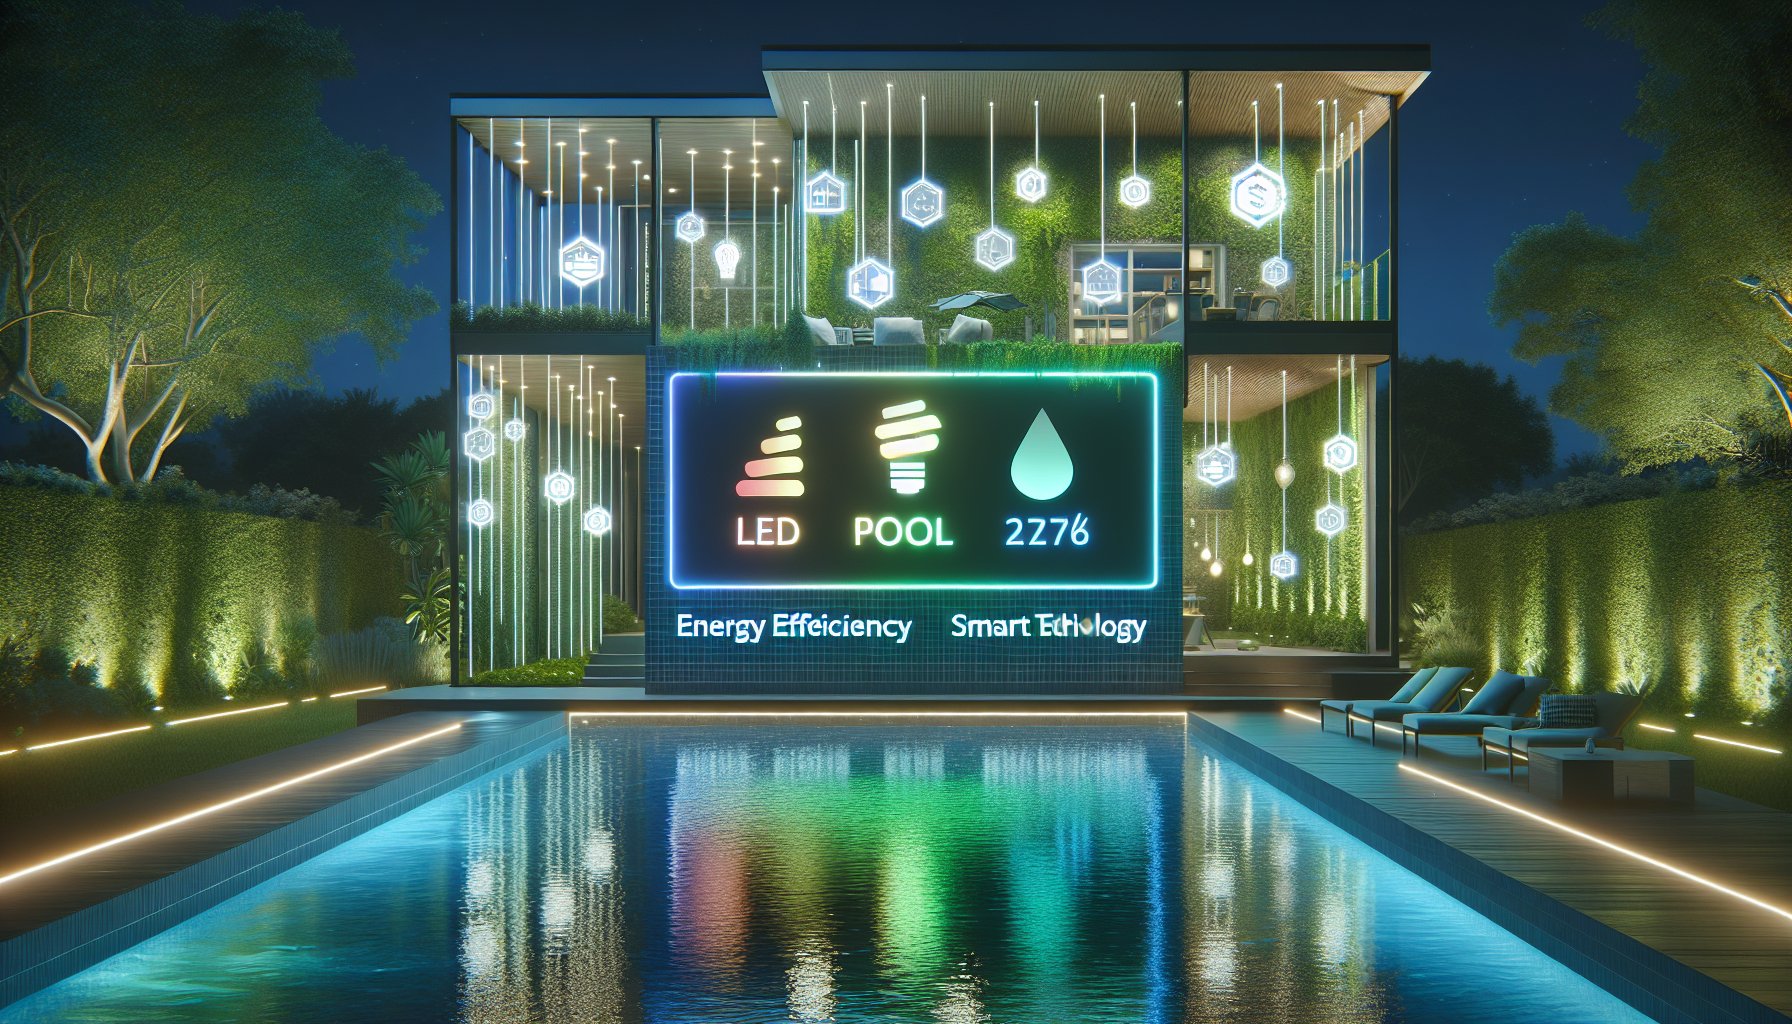
Exploring Smart LED Pool Lighting Systems for the Tech-Savvy Homeowner
Exploring Smart LED Pool Lighting Systems for the Tech-Savvy Homeowner. Discover how these innovative lights can enhance your outdoor space, ensuring safety and style while being energy-efficient and easy to control.
Mar 30, 2026
Read More
LED Pool Lighting
Energy Efficiency and Aesthetics: Why LED Pool Lighting is the Future
Explore how LED pool lighting combines energy efficiency and stunning aesthetics. Transform your pool into a captivating oasis with Carson Outdoor Living's innovative designs, saving energy and costs while enhancing your outdoor experience.
Mar 27, 2026
Read More
LED Pool Lighting
The Ultimate Guide to LED Pool Lighting: Illuminate Your Backyard Oasis
Discover how to illuminate your backyard oasis with The Ultimate Guide to LED Pool Lighting. Learn about energy-efficient options, color choices, and safety tips to create a stunning nighttime retreat that enhances both beauty and functionality.
Dec 08, 2025
Read More
LED Pool Lighting
LED Pool Lighting Trends for 2025: What Local Experts Recommend
Discover the latest LED pool lighting trends for 2025 with insights from local experts. Transform your backyard into a stunning retreat with smart, energy-efficient lighting that enhances ambiance and boosts property value. Dive into the future of pool experiences!
Dec 07, 2025
Read More
LED Pool Lighting
10 Brilliant Benefits of LED Pool Lighting You Didn't Know
Uncover the 10 brilliant benefits of LED pool lighting you didn't know! From energy savings to customizable colors, transform your outdoor space into a stunning sanctuary while enhancing safety and sustainability.
Dec 06, 2025
Read More
LED Pool Lighting
Choosing the Right LED Pool Lights: A Comprehensive Buying Guide
Transform your pool area with our comprehensive guide on choosing the right LED pool lights. Discover tips on purpose, durability, and smart technology to create a stunning and safe aquatic retreat.
Dec 06, 2025
Read More
